Posted on Leave a comment

stick a fork in me

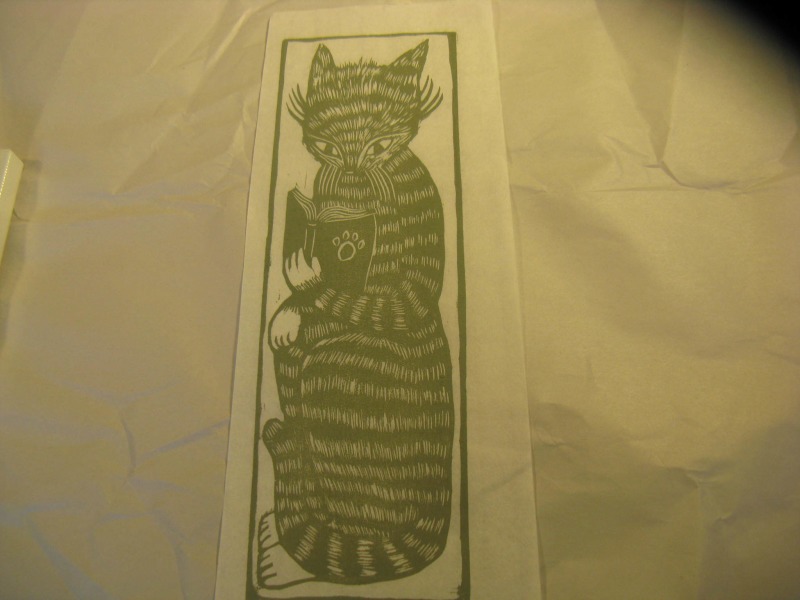
I had a crazy productive day today.  I took this completely beautiful and fabulous cat print that I picked up at the Madison Print and Resist Zinefest in the fall,

Made by an artist at justseeds.org

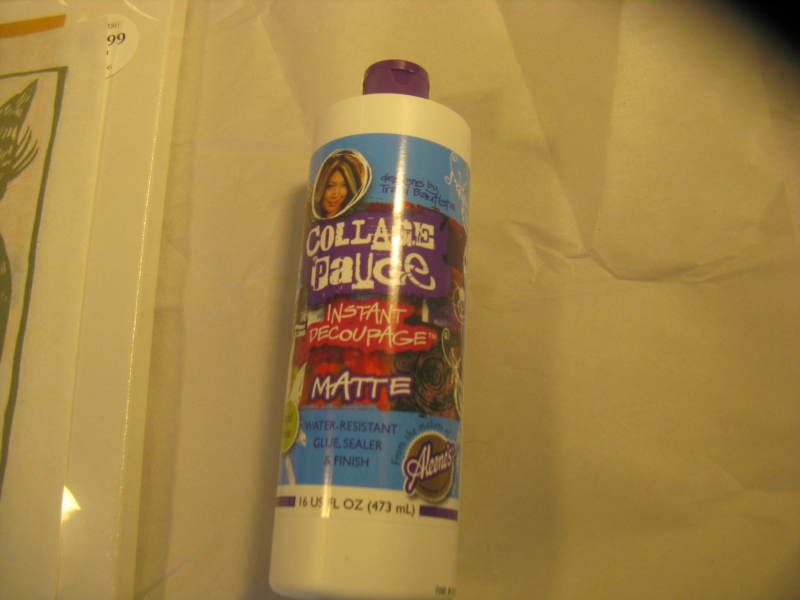
Took some fancy goo

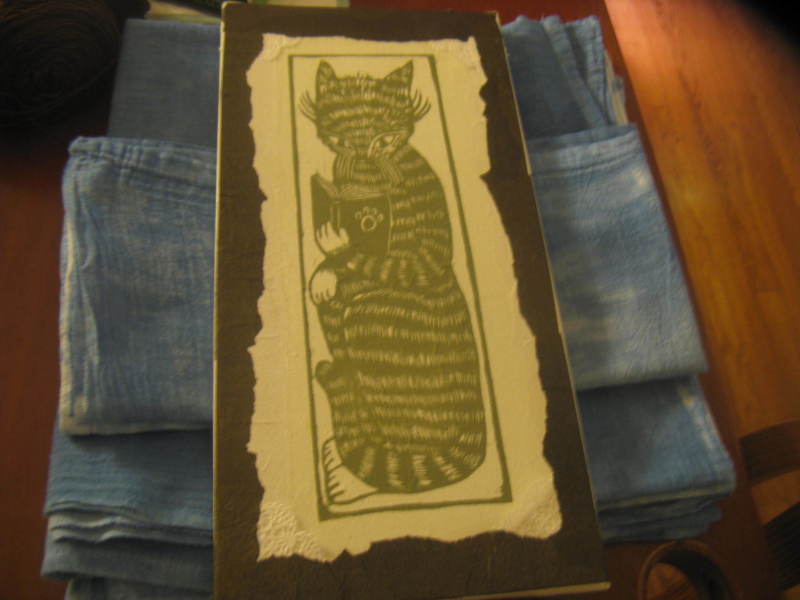
And put it on a canvas.  I used tissue paper and a doily to make a frame around it.  It’s on a stack of freshly ironed, indigo dyed dishtowels.  Christmas is coming right up, ya know.

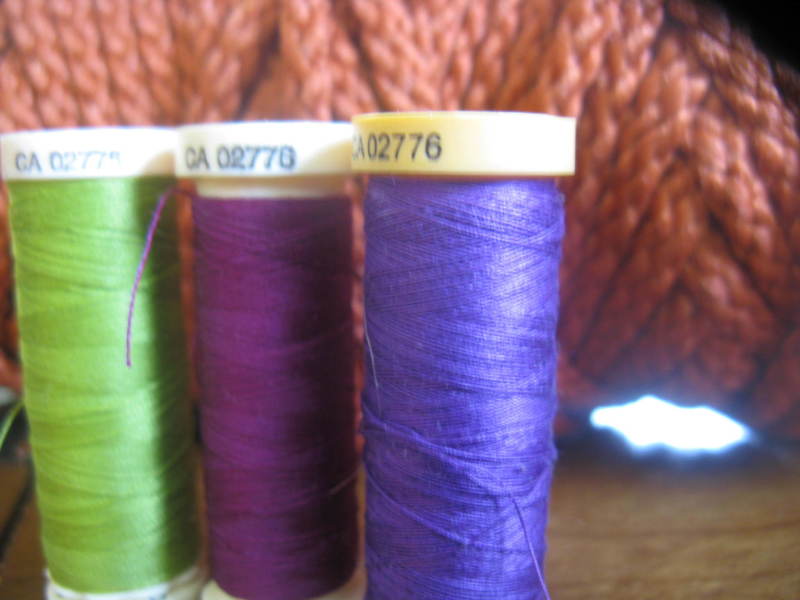
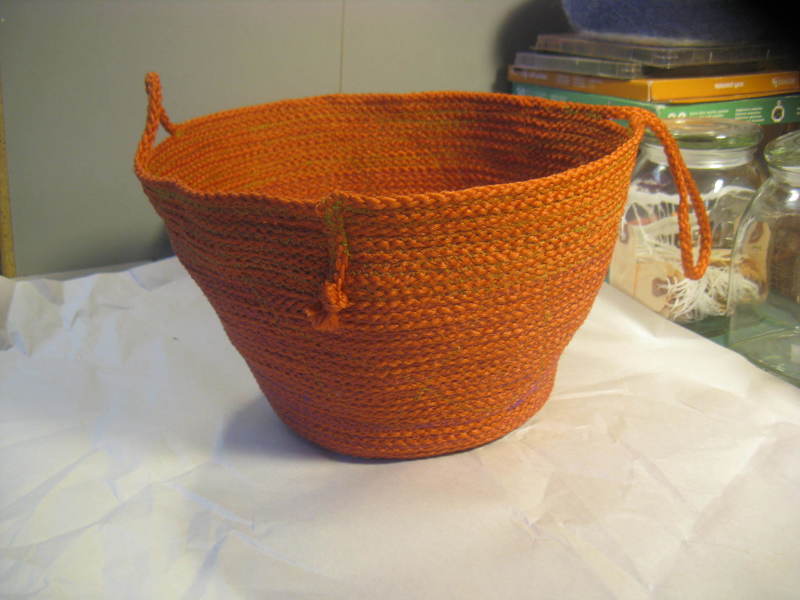
But gooing and ironing wasn’t enough for me.  Inspired by a friend’s project, I also used some of this horrible, cheap, plastic yarn and experimented with basket making.

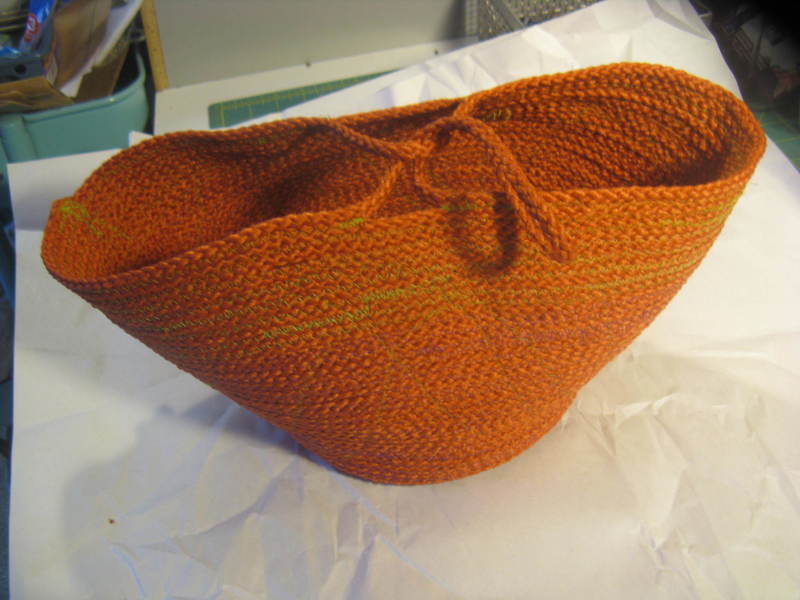
I’m actually really thrilled with the result.

How cool is that?  I used the horrible cheap yarn because I happened to have it on hand and we just had a big snow storm so I didn’t want to go shopping.  

I really wish I had used nice, natural cotton rope.  I think cotton will make a nicer shape, too.  Oh, yeah, there are more of these in my future.  

BUT WAIT!  

There’s more!  

I took a bunch of close up pictures of my dishtowels. Yep, that’s sounds pretty obsessive, I hear it.  But it turned out cool.

I

I added a favorite quote to the photo.  Fun.  I wonder if that would work as a print.  

But I won’t be finding out today.  

You can stick a fork in me, I’m done.  

Posted on 2 Comments

I Stained The Driveway

We ended up with mixed results from our rust dyeing.  
Jennifer had two big pieces of canvas.  This one ended up looking really cool.  
One day soon, it will be an apron.
The other one should have been really amazing, she placed in on coils of wire.  But they didn’t rust, we figure they must have been coated.  
This part sat on the outdoor fireplace grill – a very popular piece.
But this one is fabulous and we learned to test metal first.  If you get it wet and leave it out, you’ll be able to tell if it will rust or not before you play with it.  
I love this, it’s from the grill of the smallest hibachi I’ve ever seen.  Smaller than the one in the link.
This one was wire wrapped around rebar.  It’s my favorite of the stuff I made.  
The lines are from the wire.  
I think it was floral wire – not sure though.  That’s what happens when you buy your supplies at thrift shops and yard sales.  🙂
This is from where the rebar touched the fabric.  I like this part, too.  We’re going to find some larger tubes to wrap fabric around so that more of the fabric gets color.  We’re thinking wine bottles or large pvc tubes.   Stay tuned.
Here’s a sweet little piece that I put on some rail road ties and steel scrubbies. 
 I don’t know how I feel about it, it’s a bit too something something for me.  Geometric, maybe?  
  
I love this.  It’s a sleeve from a horrifying lilac linen jacket – plus sized with a very unflattering cut – it needed a change.  I laid it on top of a steel screen from our outdoor fire pit.  
I love the all over pattern from it.  
This sleeve I wrapped around a rusty wrench with some various washers and metal doo-dads added in.  Its pretty cool, too.
Psychedelic man!
And here’s the shirt.  I think I like it.  I put it on a drain cover that I found on the side of the road several years ago.  I picked it up because…just because.  
This is the back.  I like the front better than the back.  I covered the stain I wanted to cover.  But all over, I’m not nuts about the look.  It looks stained more than dyed.
Here’s the apron with my bonus shadow.  The apron just looks dirty to me.
Up close, if I were to take the time to appreciate the details, I like them.
But parts also just seem dirty to me.  I think I like the all over patterns better.  The splotchy bits don’t work for me at all.  
Next time – and there will be a next time – I might pick up some iron oxide powder.  You can sprinkle it on the fabric and it colors more of it.  I’m hoping the color will look more intentional.  
Also, it took more than 24 hours because we moved the rusty pieces around to different parts of fabrics to dye more of it.  The difference between vinegar and salt was only in the smell.  I didn’t see a difference.  
We learned a ton.  We’ll be trying this out again maybe on a smaller scale.  I laid out a tarp in the driveway and it took up lots of space.  Jennifer came up with the idea of just putting a piece in a plastic bin.  We could always have a piece rusting if we chose to.  It takes up less space and probably wouldn’t stain the drive way.  Oh yeah, I stained the driveway.  
Posted on 2 Comments

Rust Dyeing

Time to try something new.  
It seems a little whack-a-doo but that never stops me from trying something.  
In fact, it kinda makes it more tempting, doesn’t it?
The idea is pretty simple.  You take some metal that will rust and put it on or wrap it in some fabric.
Get them wet to encourage rusting.  
We added vinegar to some of the pieces and salt water to others to see which would encourage rusting  better.
I’m thrilled to be rusting this shirt.  It’s an Alabama Chanin design that I made with an old tee-shirt.  It fits me really well but I stopped sewing at this point when I saw the very light but also really big stain on the front.  Oh, that’s why that shirt was in the thrift shop.  So I’m rusting over the stain here, fingers crossed.
Bottle caps on a linen sleeve that is resting on a grate.
Soaking some washers and bottle caps in salt water.
The tool chest, including my ubiquitous cup of tea.
I looked for spray bottles at the dollar store but couldn’t find any so I bought these cool water cannon things.  
Way more fun to use than spray bottles.
These are Jennifer’s pieces, at least one is destined to be an apron.
Then we covered everything with a tarp.  We just need to keep it wet and hope for the best.  It should take about 24 hours to get rusted.  
Have you ever rust dyed? I’m curious to hear about people’s experiences.  
Posted on 1 Comment

Didn’t Know An Eyelet From A Hole In The Grommet

And to think, an hour ago I didn’t know an eyelet from a hole in the grommet.  
Yesterday I took a pile of canvas bags that I bought at the thrift shop…
Chopped them up and (though you can’t tell and it felt sort of pointless) ironed the bejeebers out of them.
I used the pattern from this book as a general guide
and made an apron.
Here are some extraneous close ups
Because I like extraneous close ups.
I got stuck for a bit at the ties because I knew what I wanted but I had never successfully made eyelets before.  My business partner and I have spent a fair amount of time figuring the ins and outs of good apron ties.  They can’t just go around your neck – that pulls and is uncomfortable- they need to cross in back.  
Eyelets are not hard, it turns out.  They are hard if you just grab some and start hammering them without knowing what you’re doing.  That’s the technique I’ve been using for years.  
Today I checked youtube and learned that there’s an actual technique and that I already owned all the right tools.  How did we ever know things before the internet?
So…BOOM…apron.  I think next time I’d round the edges at the bottom.  I do plan on making more.  This is just a practice apron.  I have some other apron ideas:  I’d like to try a patchwork of canvas bags and also of denim and then make one out of linen …
I’ve spared you the NINE shots of just my butt as tried to guess the right photo taking angle.  
I really only wanted to get a picture of the ties.  
Also, I found this when I was out shopping and put it right up on the Etsy shop.  How cute it that?
It’s totally cute but I think someone else should use it to make stuff or to watch or for some other purpose.  I’ve got a pretty good eye for finding tidbits, though.  Just not an idea of what to do with every kind of tidbit I find.  They do tend to pile up sometimes.