Posted on 1 Comment

Totally Made My Day

We went to a Flea Market yesterday.  I had big intentions to talk a guy way down on some of those cool glass insulators things that sit on top of electrical poles.  But by the time I came back around, I was all out of money.
Check it out!!!
It’s just the top but the fabric is so beautiful. Lots of vintagey scraps.  I thought I would cut it up and remake it into many different things. You know what happened though.  When I got home and opened it up, I knew I would never be able to chop it up.  
I’m just going to finish it.  
I have to pick a backing and border color.  It will have to wait, though.  I have so many other projects right now.
Also, I picked up a couple of books  (There is no book better than The Sailor Dog, just FYI).

This book is pretty cool.  I have a thing for Mr. Zip.

A buncha crocheted doilies.  Did you know there there’s no such thing as machine crochet so every single crocheted item you ever see was hand made.  Just sayin’.
And so many vintage buttons.  I love it when buttons are all sewn onto cardboard.  Why did anyone do that? I mean why would you sew buttons of all colors and sizes onto a really big card?  Sales samples maybe?  I’m glad they did, but still.
Also, we went out to lunch and the waitress complimented my necklace. 
 It was this worn around my neck instead of my wrist:
It totally made my day.
Posted on 2 Comments

Feeling Proud

I donated my Denim OCD Quilt to The Habitat for Humanity ReStore.  
They have a salvaged art auction every year to raise money.
You might remember that I donated some stuffed critters a couple of years ago.  
They just put my quilt on their website (scroll down) as a featured piece and I’m all aflutter.  I’m not sure where it will be displayed yet but I’ll be attending the opening for sure.
I also recently received  an email from the WI Institutes For Discovery.  They will be displaying the drawings from the last Lynda Barry workshop during their Public Humanities Conference.  I actually think the drawings done by kids will be waaaaay more interesting than the stuff us grown ups made.  The conference looks really intriguing and the workshop was crazy fun
I’m looking forward to attending that, too.  
That’s my spring social calendar filled.  
Not bad for someone who doesn’t actually have a social calendar. 
Posted on 3 Comments

Thanks To The Hand Holders Of The World!

Smack in the middle of making the Project QUILTING quilt, I was lucky enough to have a yearly mom’s retreat happen.  Woohoo!  If you don’t have a bunch of friends who like to get together for a weekend to eat, drink and be treat each other well, I highly recommend you find one.  
It meant that I would need to bring a sewing machine with me if I was going to finish the quilt in time. The only portable machine I have right now is my Grandmother’s Featherweight which, as you may remember, is haunted and therefore was in need of repair.  
I don’t know about you, but I fear electricity.  It can mess you up. So I needed a fair amount of hand holding for this project.  On the other hand, no way was I going to pay to have someone fix it.  I mean, it was obviously a simple fix, you just had to know what to do.  
First I googled around and found this very inspiring blog: Mysewingmachineobsession.blogspot.com.  I emailed the woman whose blog it is and asked pointless questions that basically added up to “Tell me I can do this please!”  She got back to me very promptly and told me I could do it. I stopped at the local hardware store and bought an plug thingy and was ready-ish to rumble.
I also cornered a friend at the retreat who fixes up vintage machines and she was a huge help.  Go buy things from her etsy shop here.  🙂
Hand-holding powers engaged, I started.  The hardest part was prying the inside of the plug out of the cover.
It fought me all the way.
Then I stuck the wires through.
We cut off the insulation with scissors (By the way, don’t try this at home.  Surely there’s a safer, better way but we were at a retreat center and had slim pickin’s for tools.  We twisted each of those two little sets of wires clockwise.  This is so that when we screwed them in, they stayed bundled together.   Then, we just wrapped them around the screws and screwed them in snugly.  I wish I’d taken a picture at that point.  Sorry, I was too into it, I guess.
It went back on way easier than it came off.  I picked this huge plug because it’s easy to grab and I won’t be tempted to pull it out of the outlet by just the wire again.
Check it!  Light is on.  Motor is running and the quilt got finished. All I needed was hand holding and people telling me I could handle it.  
Thanks to the hand holders of the world! 
Posted on

Craft Book Review the First

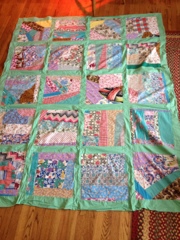
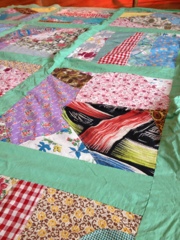
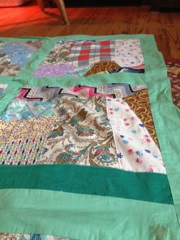
With my Project QUILTING project all done, I’d say it’s time for a non-sewing related post.

I love books.  Near the end of last year, the possibility of my writing some short craft book reviews to post on the library’s Facebook page came up.  I was all aflutter and for several days lulled myself to sleep by writing book reviews of my favorite craft books in my head.  But then, lots of other things went down at the library and, while I haven’t given up hope, the project has fallen by the wayside.  For them.

Even though the only other book review type post that I’ve tried on the blog was a chaotic mess, I remain undaunted.  After all, I wrote that using one of those horrible little texting keyboards on a phone and survived.  I haven’t written a book review since high school and, even back then, I only wrote about half of the reviews I was assigned.  I even got in trouble once* because I purposely gave a glowing review of a book that I knew my teacher hated and that I had only read half of.  I was not a model student.

Anyhoo, I’m a grownup now and I figure I can write a book review any old way I choose and about any old book I want to write about.  Since I’m writing them on my blog, I don’t even have to behave.  If it’s fun, this will be the start of an irregular series here at AnotherJenniferMakingStuff.

Here’s my rating system.  A book can rate, at the best:  “Go Buy This Book And Pay Full Retail Value Right Now” to, at the worst: “Avert Your Eyes, It Burns, It Burns!”  I also reserve the right to make up the different ratings in between those two as I go along.

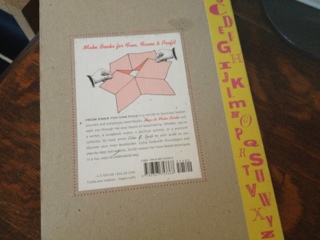
The book I want to write about today is How to Make Books by Esther K. Smith.

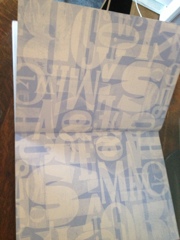
This book simply rocks.  First, it’s just beautiful to look at.  It’s about as handmade looking as a mass produced book could hope to look.  The cover is cardboard, the title looks hand type set and the binding has lines drawn on it that mimic a hand sewn long stitch binding.  She hoped to have it actually hand bound but I’m sure that was too expensive
.

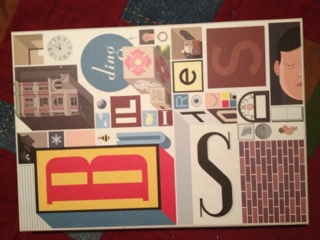
The inside of the book is lovely, too.  The title page, table of contents and chapter beginnings are all gorgeously typeset.

I really appreciate the step by step illustrations, too,  They’re works of art in their own right and are quirky and funny and fun to look at.  Oh, yeah, they’re easy to follow, too.

The book is full of projects.  Duh, that’s why I like it.  Speaking of that, even the no nonsense, non fancy title is just right.  But back to the contents:

The projects are described in a straightforward, very personal way.  The writer talks about where she learned about the different techniques and what they mean to her.  She’s not super overly, crafty, girly, cutesy with her descriptions.  As a reader of many craft books, let me tell you, I seriously appreciate that.  She also doesn’t fill the book with stupid puns or project titles that rhyme with themselves.  I HATE those.  But, back to those contents again.

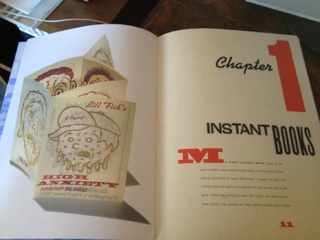
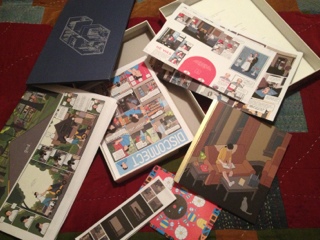
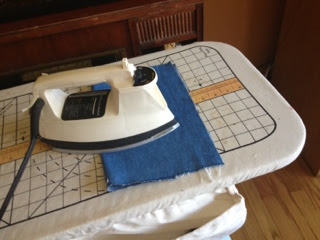
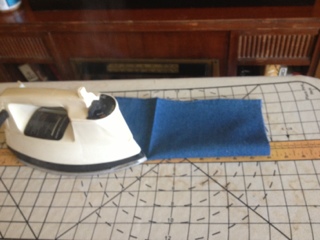
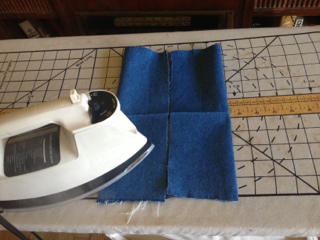
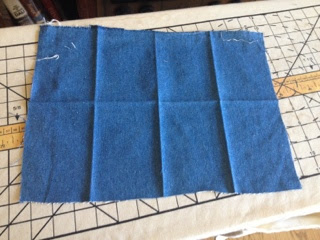
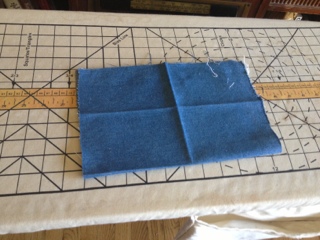
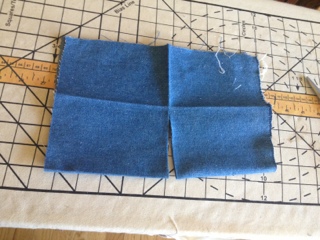
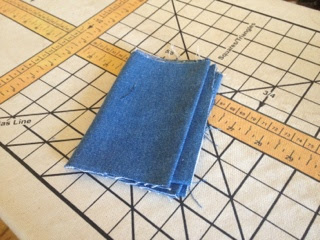
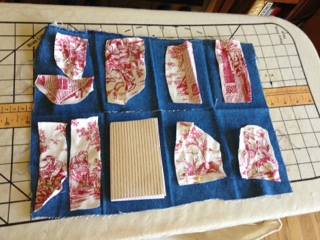
The layout of the chapters is this: She introduces the technique, how she learned it and why she appreciates it and how to do it, obviously.  After that, she shares a few variations on the theme.  All of the samples she uses in the book are gorgeous and creative. Check out the instant book on the next picture down there.  Fabulous.

There are little asides on different useful tidbits throughout the book like what bone folders are and why they’re helpful and what kinds of thread she prefers and why. They come up at the perfect point of the books, like threads when the binding sections begin and that kind of thing.

There are seven chapters with different types of books and bindings.  Within the seven chapter are so many ideas and concepts and ways to use them that you’re really getting more than seven new skills.

My favorite project, those of you who know me will know this already because I’m always shoving it down people’s throats, is the instant book.  This would be chapter one of the book so maybe it’s her favorite, too.  They are so simple and elegant and versatile.

I have used most of the techniques in the book as inspiration for many projects of my own.   That’s really saying something because so often, I’ll fall in love with one or two ideas in a book but the other thirty eight (just a random number there) do nothing for me.

I also think, after reading the book, that Esther K. Smith is probably a really nice person who I would virtually (she lives really far away) hang out with.  I’d be a little intimidated at first but then we’d totally laugh at the same stuff and probably get to the level of friendship of commenting on each other’s blogs every now and then.  Which is plenty for me because I’m not very social.

I rate this book:  Go Buy This Book And Pay Full Retail Value Right Now!  I sure did.

Of course I’m going to pick a favorite as my first review because that’s the first book that popped into my head when the idea came up.  I’ll branch out to less positive territory one day…probably.

You might also like her other books:  ,which I may review one day, and The Paper Bride which I probably won’t review because I haven’t read it and as I’m already married, wedding planning bores me.

*  OK.  Way more than once, but that’s for another kind of blog.

Please share any thoughts on craft books you would like to see reviewed.  I have a few lined up but it’s always the right time to recommend a good book.

Posted on 4 Comments

Disorganized Mess Of A Description

Hi. I’m back. I had Christmas with my family out of state and had a fabulous time. My amazing husband bought me the best gift ever! I am not exaggerating. Even though it has absolutely nothing to do with sewing or crafty goodness, I’m going to tell you about it so you can go buy it!! 
 It’s Building Stories by Chris Ware. I can’t really call it a book because it really isn’t. It’s a graphic novelly, cartoon strippy, bookesque collection…that’s a pretty bad description, actually.
Hmmm. Well, I’ll add a couple of pictures so you can see it.

This is the box it all came in. 


It’s several stories that build on each other, mostly about a woman living in Chicago. The stories are told in a variety of formats and from a variety of sources, including, but not limited to, a bee and a building. The description on Good Reads (follow that link on the book title above) is way better than mine. It’s incredible and I’m reading it slowly because I don’t want it to end. Even if you aren’t a comic book/graphic novel person you should buy it! NOW!! 

I like it so much I just typed out this disorganized mess of a description on my cell phone because I couldn’t wait till I get to the computer tomorrow to share in its awesomeness. 
Posted on

I Can’t Stay Grumpy

I’m going to be a presenter at the Wisconsin Book Festival.  Woo hoo!!
I’m going to lead a teen program on making Instant Books.  
Inspired by The Great Good Thing by Rod Townley and How to Make Books by Esther K. Smith; both incredible and inspiring books.  
So, with that in mind, I’ve been making instant books to use as display items.  
Of course, I had to make one out of denim – duh.
 
I picked a randomly sized rectangle of fabric; I went with slightly bigger than a regular piece of printer paper.  I thought that would be easier to work with than, say, a postcard size or a couch size.
 
If this had been regular paper, I would have just folded it, but I get to iron it because it’s fabric.  
I folded/ironed it in half.
 
 Opened it and ironed it in half the other way.
Then, I ironed the edges in to the middle so that it ended up looking like this:

 
Then I folded it like that first fold again.


That gave me this cutting line
 
  Which I cut.  Just to the first horizontal fold
Then I’m going to refer you here (steps E and F), because, using floppy fabric, it was really hard to get an action shot. 
 
But, when finished it will be this shape.
 
Here’s where I was when I ran out of time.  I need to sew these features on (That thing that doesn’t match the rest is another instant book that I made out of paper…clever, huh?) and then I’ll probably sew the rough edges together.  Fun fun fun!
Now, I think we should al collectivley shake our fists at Blogger which made me fight to place these pictures in order.  Grrrr Blogger!  
But, since I’m off to a workshop being run by Lynda Barry (!!!!)  I can’t stay grumpy. 
Posted on 3 Comments

The Things I Didn’t Buy And The Thing I Did

 
 Yesterday was a thrift shopping day and I came upon a goldmine of crazy.  Someone’s collection of ceramic figurines, all of them elderly.  In addition to this shelf full, there were about 20 more scattered throughout the store.   I couldn’t bring myself to buy them.  I just felt like I had to have them all or none of them and, while my husband really appreciates many of the horrifying ceramic things I bring  home, he wouldn’t if I spent $60 to $80 on one haul.
Then I went to my local grocery store and happened upon this:
 
For sale for $18.95 and totally ironically cool.  Which was hugely disappointing because I already own this:
 
Bought for a buck at a yard sale, under the impression that it wasn’t supposed to be ironically cool.  I don’t know how I feel about it any more.  
 
But I am thrilled with this purchase.  It’s the door to an old PO box.  I bought it at the post office.  The woman behind the counter gave me a quick lesson on how to pick the lock, too – which was priceless. 
Posted on

Invisible Stitch Mini-Tute

 Here I’m holding the mitered corner in a death grip so I can make sure it lines up in a nice and tidy way.  I’ve sewn the corners of the binding where I want them as I hand sew this side of the binding to the quilt.  Then I’ll tuck the extra fabric into the corner and tack it shut with a stitch.  I wish I’d taken a picture of that.  I’ll get it next time I make a quilt.
I took some pictures so I could post a quick little tutorial on how to hand sew a quilt binding on, using an invisible stitch.  It always seems like magic to me.  
The binding fabric is folded under just a bit.  I’ve machine sewn the binding onto the other side of the quilt so there is a line of stitching on this side that I need to hide under the binding fabric.  I also try to make sure it looks even across the quilt edge but other than those two things, I’m not very careful
I put the needle into the flannel and follow along the line of the binding, right up close to it, for just under about a half and inch.  I pull it out and…
 then put the needle into the binding right next to where it came out of the flannel and make just under a half inch or so long stitch in the binding – always pulling the thread nice and snug.  I pull the needle out and …
 do it again on the flannel side.  That way the thread is hidden under the fabric and the stitch is invisible.
 I just keep moving along that way all along the binding.  It’s always surprising to me how fast it moves along. 
Posted on

Mitered Corner Mini-Tute

The first place I saw this technique was in Bend the Rules Sewing by Amy Karol.  This is the book that got me sewing again after over a decade; I love it.  I’m sure there are better tutorials than mine all over the interwebs. But I thought (since I took copious pictures of the project) I’d share this tute anyway.  
Quilt corners look hard but they really aren’t. 
 
Here we go:  Machine sewing the quilt binding to the quilt. When I got almost to the corner – say, about a half and inch to a quarter of an inch away I stopped, lifted the need out of the fabric and …
pulled the whole quilt otter there.  I took the rest of the binding fabric and
 folded it straight up at a ninety degree angle…
 Then, I folded it straight down.  The fabric should be right on top of the quilt, hugging the edges. 
 Then I turned the quilt so the edge I was about to sew was lined up.
Then put the foot in about a half to a quarter of an inch down and sewed along to the next corner, where I did the same thing again.  I think I clipped the thread but I really didn’t have to.  When I hand sewed up the other side of the quilt, I tidied up the corners.  Picture of that coming up om my next gratuitous mini tute…stayed tuned!

Posted on 1 Comment

Been a little busy

With our latest additions.
Back to sewing soon